Tuesday, November 20, 2012

USB ports and DLNA


I have been toying around with a few ideas, as far as how to get a usb port on the outside of the Raspi64; mostly where to put it, the how is pretty straightforward. 

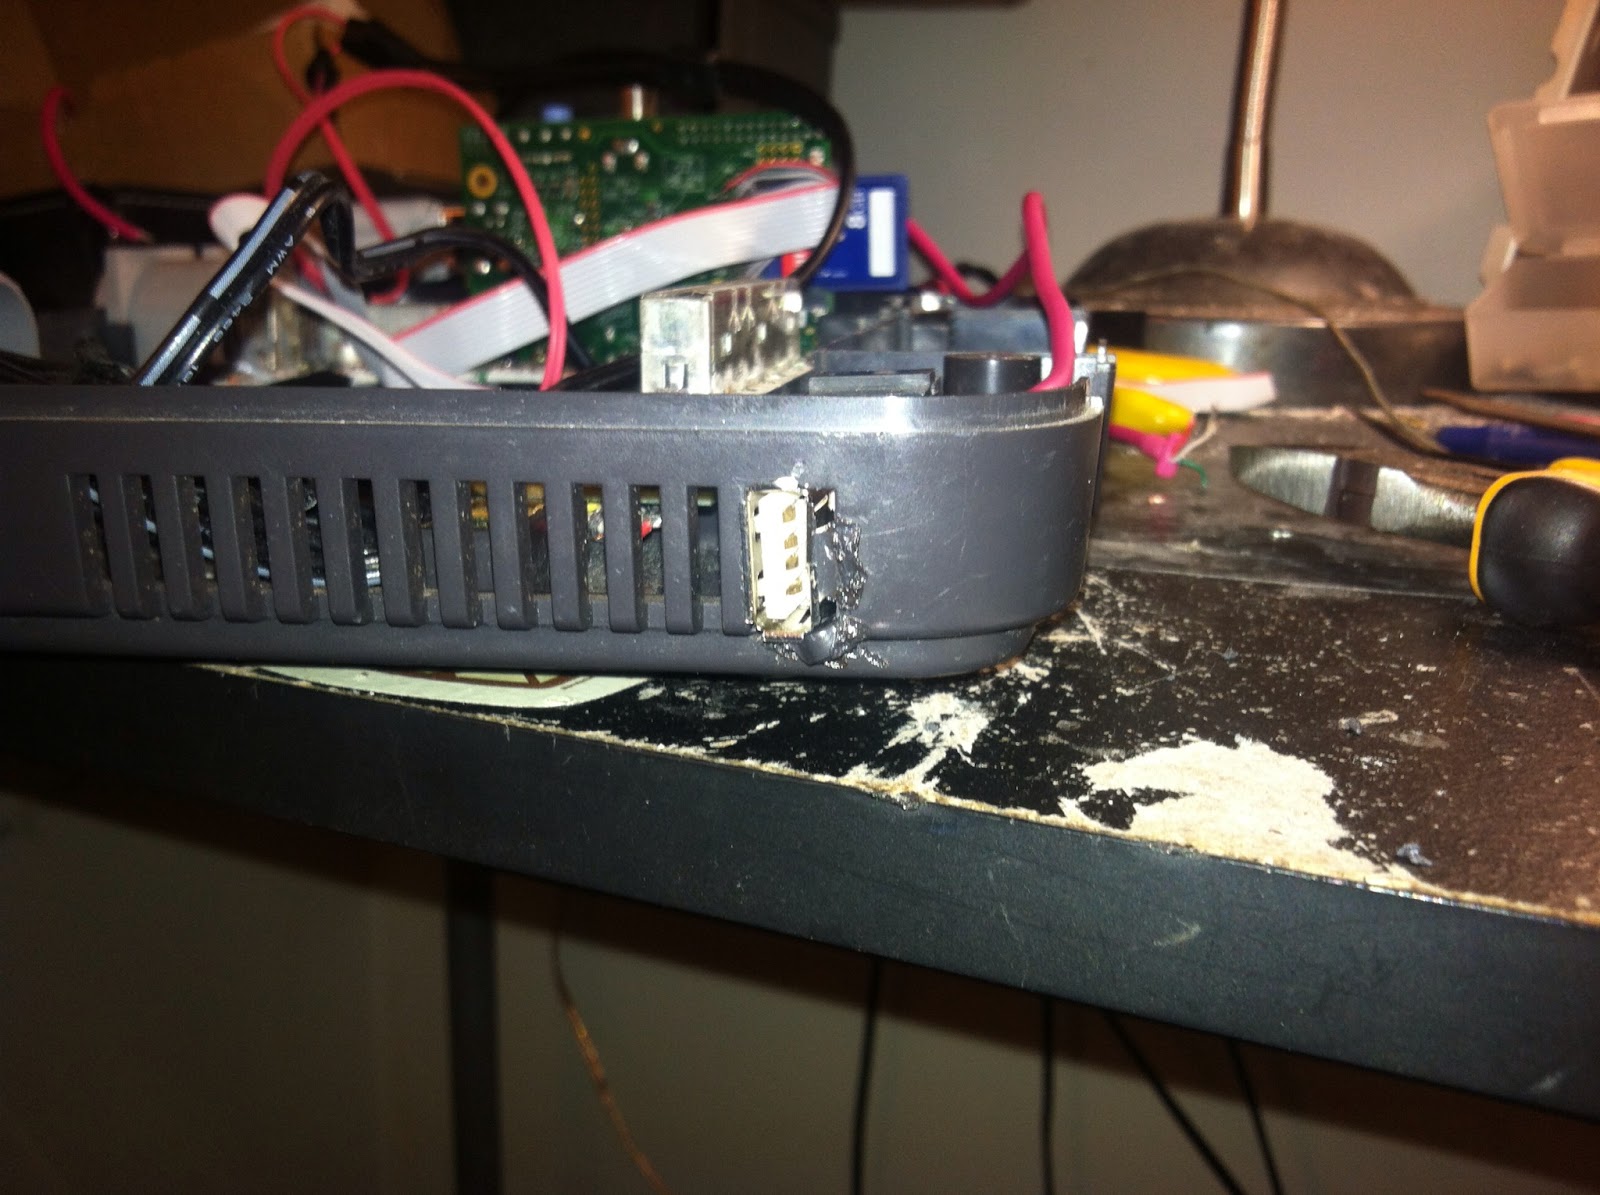
I decided to knockout a few vents from the side near the back and have it come out that way. Here I've gotten the port removed from the USB hub and wired up to this pink cable. The cable is an old iPod cable that crapped out on me and had lovely braided wires inside, which make my life so much easier that the enamel coated ones that most smaller cables are using these days. 

I used some pliers to break away a few of the fins on the back-right side of the case and used the RotoZip to clean it up and made it a smidge bigger so the plug would fit. 

Checking the fit:

Making sure I didn't mess the port up during the process:

I did a bit of "plastic welding" with the bits I broke off and my soldering iron. I really don't recommend trying that. It's rather difficult to make sure the whole thing doesn't just catch fire and the smell is fairly ungodly... I did it anyway and it is rather sturdy and doesn't look too awful considering I haven't done it before. 

Another shot of the finished port:

Then it is just a matter of wiring the port back up and making it all fit back inside.  I should also mention, it is always in your best interest to double-check your wiring before you start powering things on. I checked my order for these wires about 5 times before I started soldering, flipped the board over and wired them up in reverse order... Fortunately, it only cost me a wired keyboard and not my 1TB hard drive, but I just got lucky on that one. I took the pic with it backwards, I didn't think it warranted another picture of me fixing my goof-ups. :)  

Here is everything packed back into the main shell. I can't bolt it all up just yet as I am waiting on my last few parts to come in (hdmi port and RJ45 port) but they should be here in the next week or so. I will have a nice detailed post about cutting out the ports in the back so look foreword to it!

In my last blog I mentioned the DLNA software on my iPad and iPhone and promised you some pictures of it so here they are!!!!

8player on the iPad seeing the Pi like a champ:

Dreamworks' How to Train Your Dragon in 1080p  

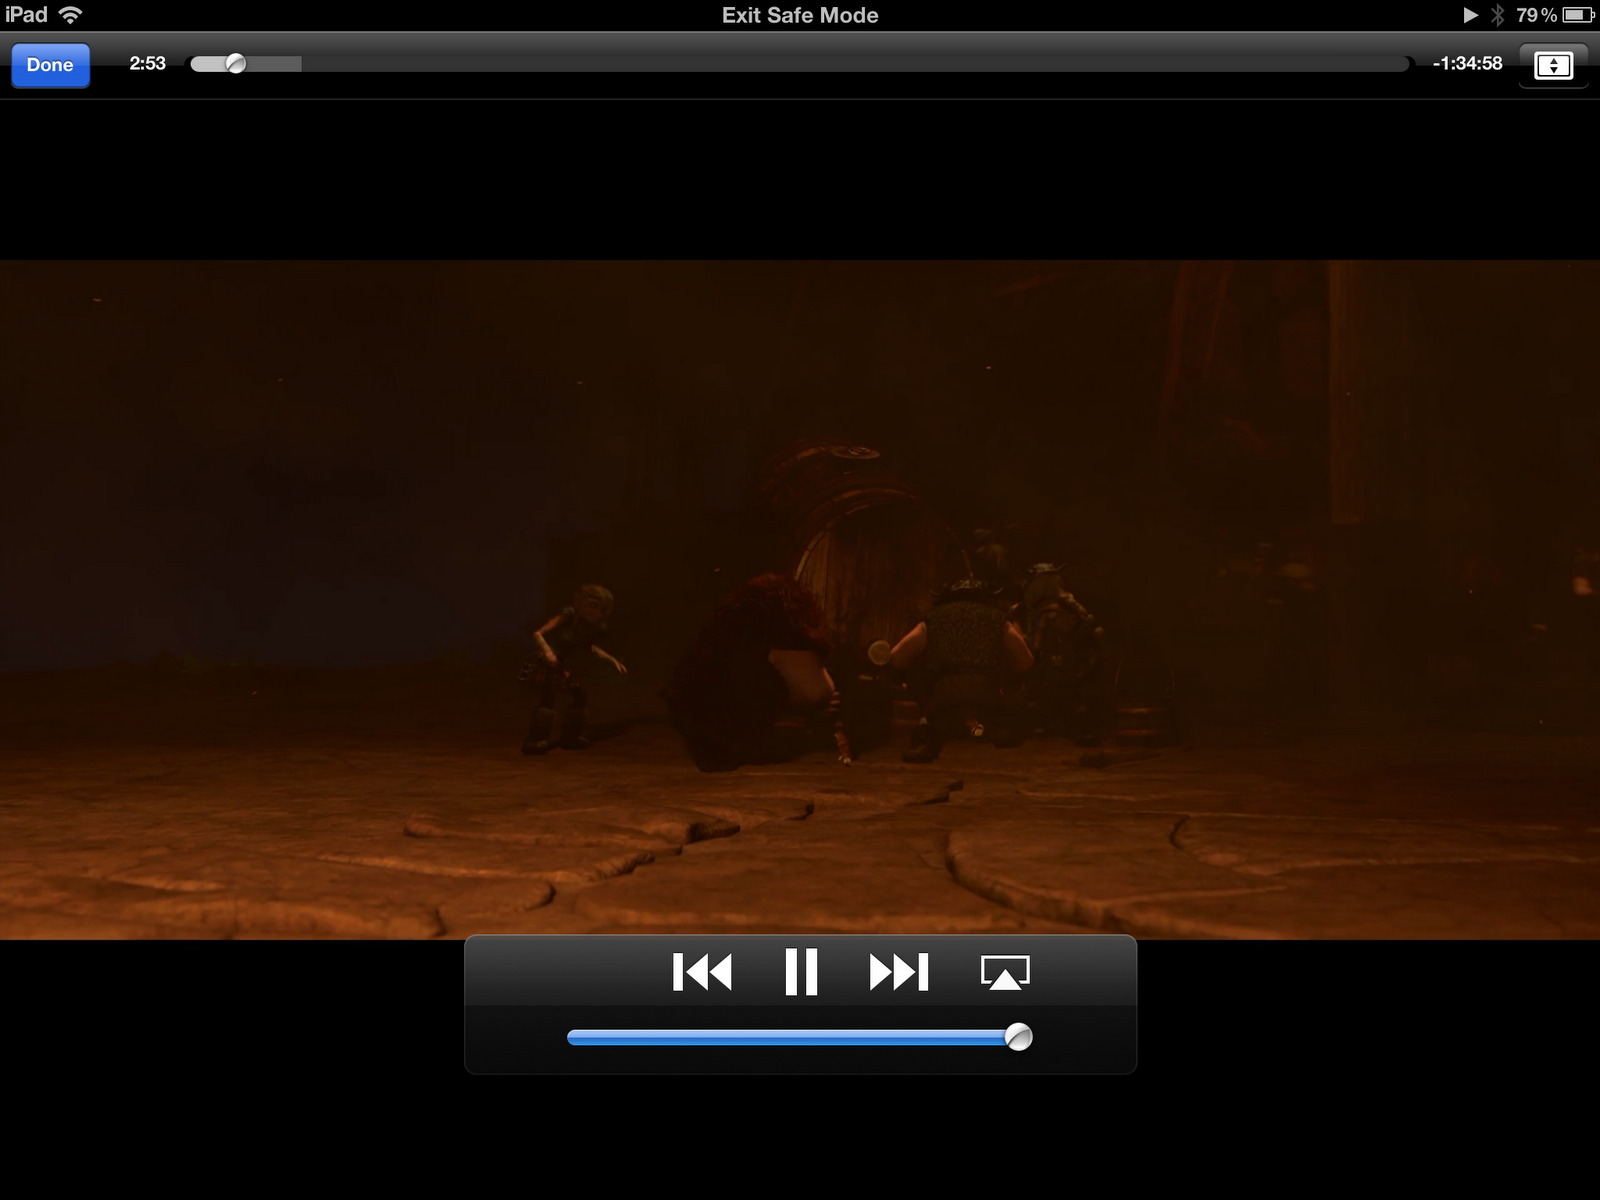
A better screen capture of it:

8player on my phone, also working splendedly:

That's all for now folks! Please feel free to leave me comments and feedback. Do you have questions I haven't covered? Do you want more details? less details? 
If you are good I might just let you take a sneak peek at the plans for my next big project! ;)

Thursday, November 8, 2012

Software!!!!!

So it looks like I'm leaning towards using this Pi for primarily a media center, and getting another later on to learn programming and to tinker with more extensively. So here is what I have working so far! I figured out how to set the name:

I also discovered, while perusing the settings menus on the Pi, that it is capable of performing as both uPnP device (hosting and recieving), and as an AIRPLAY receiver!!!! Needless to say, being the Apple fanboy that I am, this is exciting news. So I turned it on, fired it up and within a few mins I was streaming like a boss. I was hoping that I could use this as a work-around for Netflix, since they seem to hate Linux users and such, but to no avail. It seems that Netflix will only stream audio over airplay... No huge loss there since I have 4 other devices on that TV that do support Netflix, including the tv itself. Yes, I am a nerd... but if you are actually reading this blog then you are ok with that in the first place :p 
Many other services streamed perfectly though including Crunchyroll and the Videos app, as well as the music app, which I have been enjoying thoroughy.
Here is a screenshot of the iPad streaming to it on what I'm pretty sure is crunchyroll:
And youtube from my iPhone:

Now, it's not perfect, but it works. For instance, on the iPad if I am streaming for more than 15 mins I have to keep it awake or the iPad goes to sleep (and subsequently it turns off the wifi) but I have the ever-so-useful jailbreak tweak "PreventSleep" to do that for me. I highly recommend this tweak if you do any amount of downloading or data transfer on your device. 

I also hooked up my movie USB drive up to it and set it up as a DLNA server to stream that drive to my other devices. DLNA, for those not familiar with it, is a local streaming protocol that is pretty universally used. I could see it on my PS3, Xbox 360, iPad and iPhone (using 8player ~$5) but not the Roku, sadly. 

That's pretty much it for now! I'll have a blog in a few days about the DLNA stuff, I forgot to take pics... 

Monday, November 5, 2012

Progress update!!!!!!!

So where to start... I've done so much work on this in the past week it's hard to keep up. Let's get started! I fired up the Pi and installed Raspbian on the first SD card, but I won't go into much more detail than that. The install took somewhere around 14 hours and the GUI is slow and not very attractive, though I did overclock the processor a bit to compensate, which made it at least usable. I will primarily be using Raspbmc anyway so that's really all I'm gong to say about that for now. I will have a post soon about my issues with software and whatnot.

Here are some shots along the way:
At first I pretty much just stuck the Pi on top of the board of the 64 to make sure it worked before I started cutting stuff up. Here is the Pi chilling in the 64:

Running Raspbmc on my TV via HDMI

My dad let me borrow his RotoZip tool, which for what I'm doing is perfectly fine. and cut out the guts of the board. It was a sad thing to destroy such an electrical work of art, but it had to be done. There were capacitors and resistors flying everywhere, and I have a ton of little microchips laying around now. I may make some decorations out of them later on. 

Here is the nearly final layout of how everything is fitting in the case.   


I say nearly because I am still waiting to buy the HDMI extension and I found that I am going to need to move a few more ports out  to the back of console. I am having issues with the wifi reliability so I need to put an ethernet port in... I also need to put at least another usb port externally as well. I am going to be using this as a media center/server so I need to be able to hook hard drives and such up to it as needed.

Bottom View:

The buttoned up console: 
(Note: I am running this via the N64's A/V cable as I haven't gotten the HDMI port in yet) 

Booting up:

This is the on-board LED on the board of the PI through the expansion port hole... I need to get a cover for that at some point.


That's it for now! Much more to come soon, I'm just out of time and pictures for now...